
Google Meet Clone Written In Vue
In this tutorial series, we will be building a WebRTC Google Meet clone using Vue.js. All of the source code is free and available on Github. If you found this tutorial to be helpful and want to help keep this site free for others consider becoming a patron! The application will allow you to join a room by ID. Anyone who joins that room @ that ID will instantly join the call. In this first iteration, we can share voice, video, and screens!
Setting Up The Vue Application
Let’s go ahead and create the Vue application and add our dependency for WebRTC vue-webrtc. This dependency adds all of the functionality we need in a simple web component!
vue create google-meet-clone; cd google-meet-clone; npm install --save vue-webrtcAll of the functionality is built in the App.vue page (for now) let’s open it up and add the following:
<template>
<div id="app">
<img alt="Vue logo" src="./assets/logo.png">
<vue-webrtc width="100%" :roomId="roomId" ref="webrtc" v-on:share-started="shareStarted" v-on:share-stopped="leftRoom" v-on:left-room="leftRoom" v-on:joined-room="joinedRoom"/>
<input v-model="roomId" placeholder="Enter room ID"/>
<button @click="toggleRoom">{{hasJoined ? 'Leave Room' : 'Join Room'}}</button>
<button @click="screenShare" v-if="hasJoined">Screen Share</button>
</div>
</template>
<script>
export default {
name: 'App',
data () {
return {
roomId: 'roomId',
hasJoined: false,
userStream: null
}
},
mounted () {},
methods: {
async toggleRoom () {
try {
if(this.hasJoined) {
this.$refs.webrtc.leave()
this.hasJoined = false
} else {
await this.$refs.webrtc.join()
this.userStream = this.$refs.webrtc.videoList[0].stream
this.hasJoined = true
}
} catch (e) {
console.log(e)
}
},
screenShare () {
this.$refs.webrtc.shareScreen()
},
joinedRoom (streamId) {
console.log(streamId)
},
shareStarted (streamId) {
console.log(streamId)
},
leftRoom (streamId) {
console.log(streamId)
}
}
}
</script>
<style>
#app {
font-family: Avenir, Helvetica, Arial, sans-serif;
-webkit-font-smoothing: antialiased;
-moz-osx-font-smoothing: grayscale;
text-align: center;
color: #2c3e50;
margin-top: 60px;
}
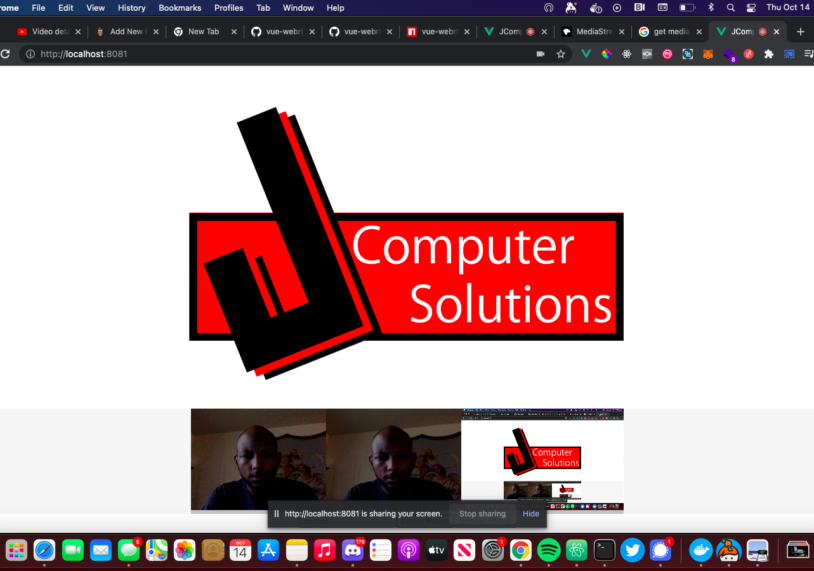
</style>The screen has a text field for putting the roomID which will be used by the vue-webrtc component to connect to a room. We have some events we listen to, which we will do more with in later tutorials. For now there are two buttons, one for connecting /leaving the room and one for sharing your screen. This is it! The package handles everything else and you can test it out here. In the next series we will implement recording functionality so everyone can download the meetings! If you enjoyed this please like and share this blog and subscribe to my YouTube page! In the meantime while you wait check out my screen recorder app tutorial!