Jyrone Parker is an American software engineer and entrepreneur from Louisville, KY. He is the owner and CEO of J Computer Solutions LLC, a full-scale IT agency that deals with hardware, networking, and software development. He is also a tech rapper and producer that goes by the name Mastashake.
I do screen records all the time for my business J Computer Solutions LLC, especially in today’s remote work environment it is often the only way I can efficiently send my clients’ demos! I usually have to go through the same tedious process to get work done.
Open QuickTime
Record screen capture
Save file
Open up email
Upload file
Send to client
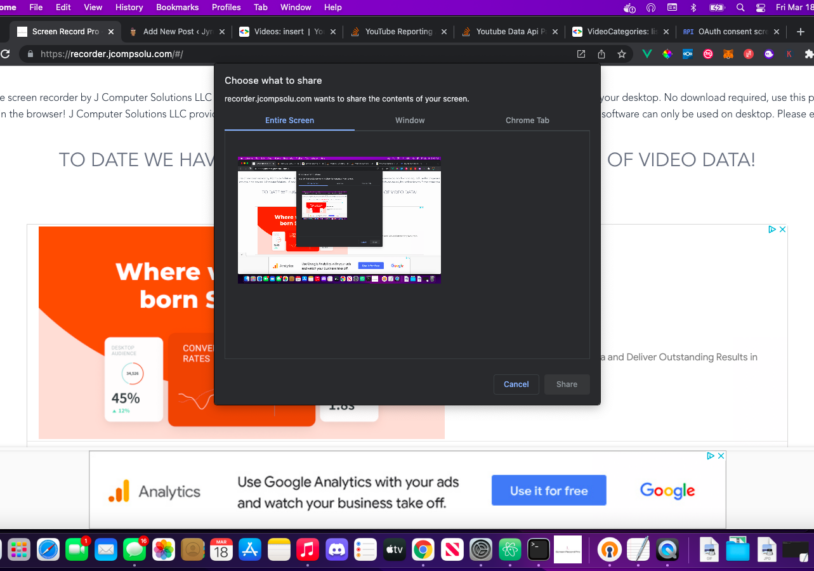
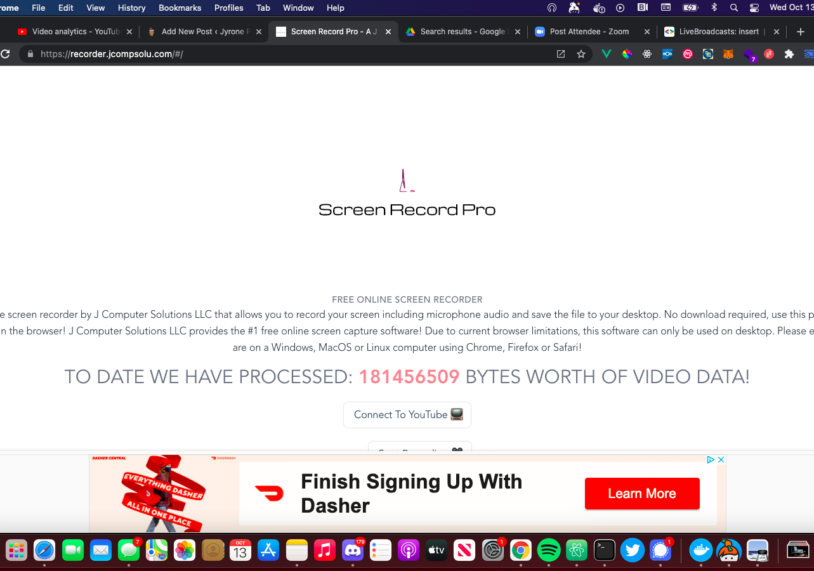
I eventually got very bored of it and wrote a progressive web app called Screen Recorder Pro to simplify the process and make it easier. Using the MediaRecorder API I capture the screen, save the output as a webm video file and from there I can take one of the following actions:
Share direct link with client
Download the file
Email the file
Upload the file to Google Drive
Upload the file to YouTube
Screen Recorder Pro in action
This was saving me precious time in getting work done as well as feedback. I started to ponder on how useful this would be for other users and decided to package it up. This PWA can be used on any Windows, Mac OSX or Linux desktop computer (mobile does not support MediaRecorder yet). I monetized the web app with Google Adsense and put it out to the world. To my surprise, it has gotten very positive feedback processing gigabytes worth of video data so far! This blog post isn’t so much about a screen recording software as it is about creating niche products of value.
Solve One Problem At A Time
I have been saying this ever since my first days of making app revenue. The apps that make the most money tend to be the simpliest. They solve one problem and solve that problem very well. It’s the Unix philosophy at scale! Also if you are struggling with coming up with a concept, create an app that solves a PERSONAL problem for you first! Chances are if it solved a problem for you, then there are 1000s of other people whose problems you just solved as well! Once you find that pain point and solve it, you can monetize. From there iterate and create more features that solve more problems in that realm. In regards to Screen Recorder Pro, the next features I plan on adding is the ability to stream to YouTube and Twitch directly in the browser. No need for any downloads, I have given streamers the ability to set up anywhere and get to work! I plan on keeping this web app free monetized with ads. I don’t believe people should have to pay service fees monthly for the vast majority of software (but that’s another blog article entirely). Due to the nature of the app, it’s feasible to believe there will be enough screen time on the app where I don’t have to monetize in other ways but we will see. Do me a favor and check out Screen Recorder Pro and while you are at it cop some #CodeLife swag!
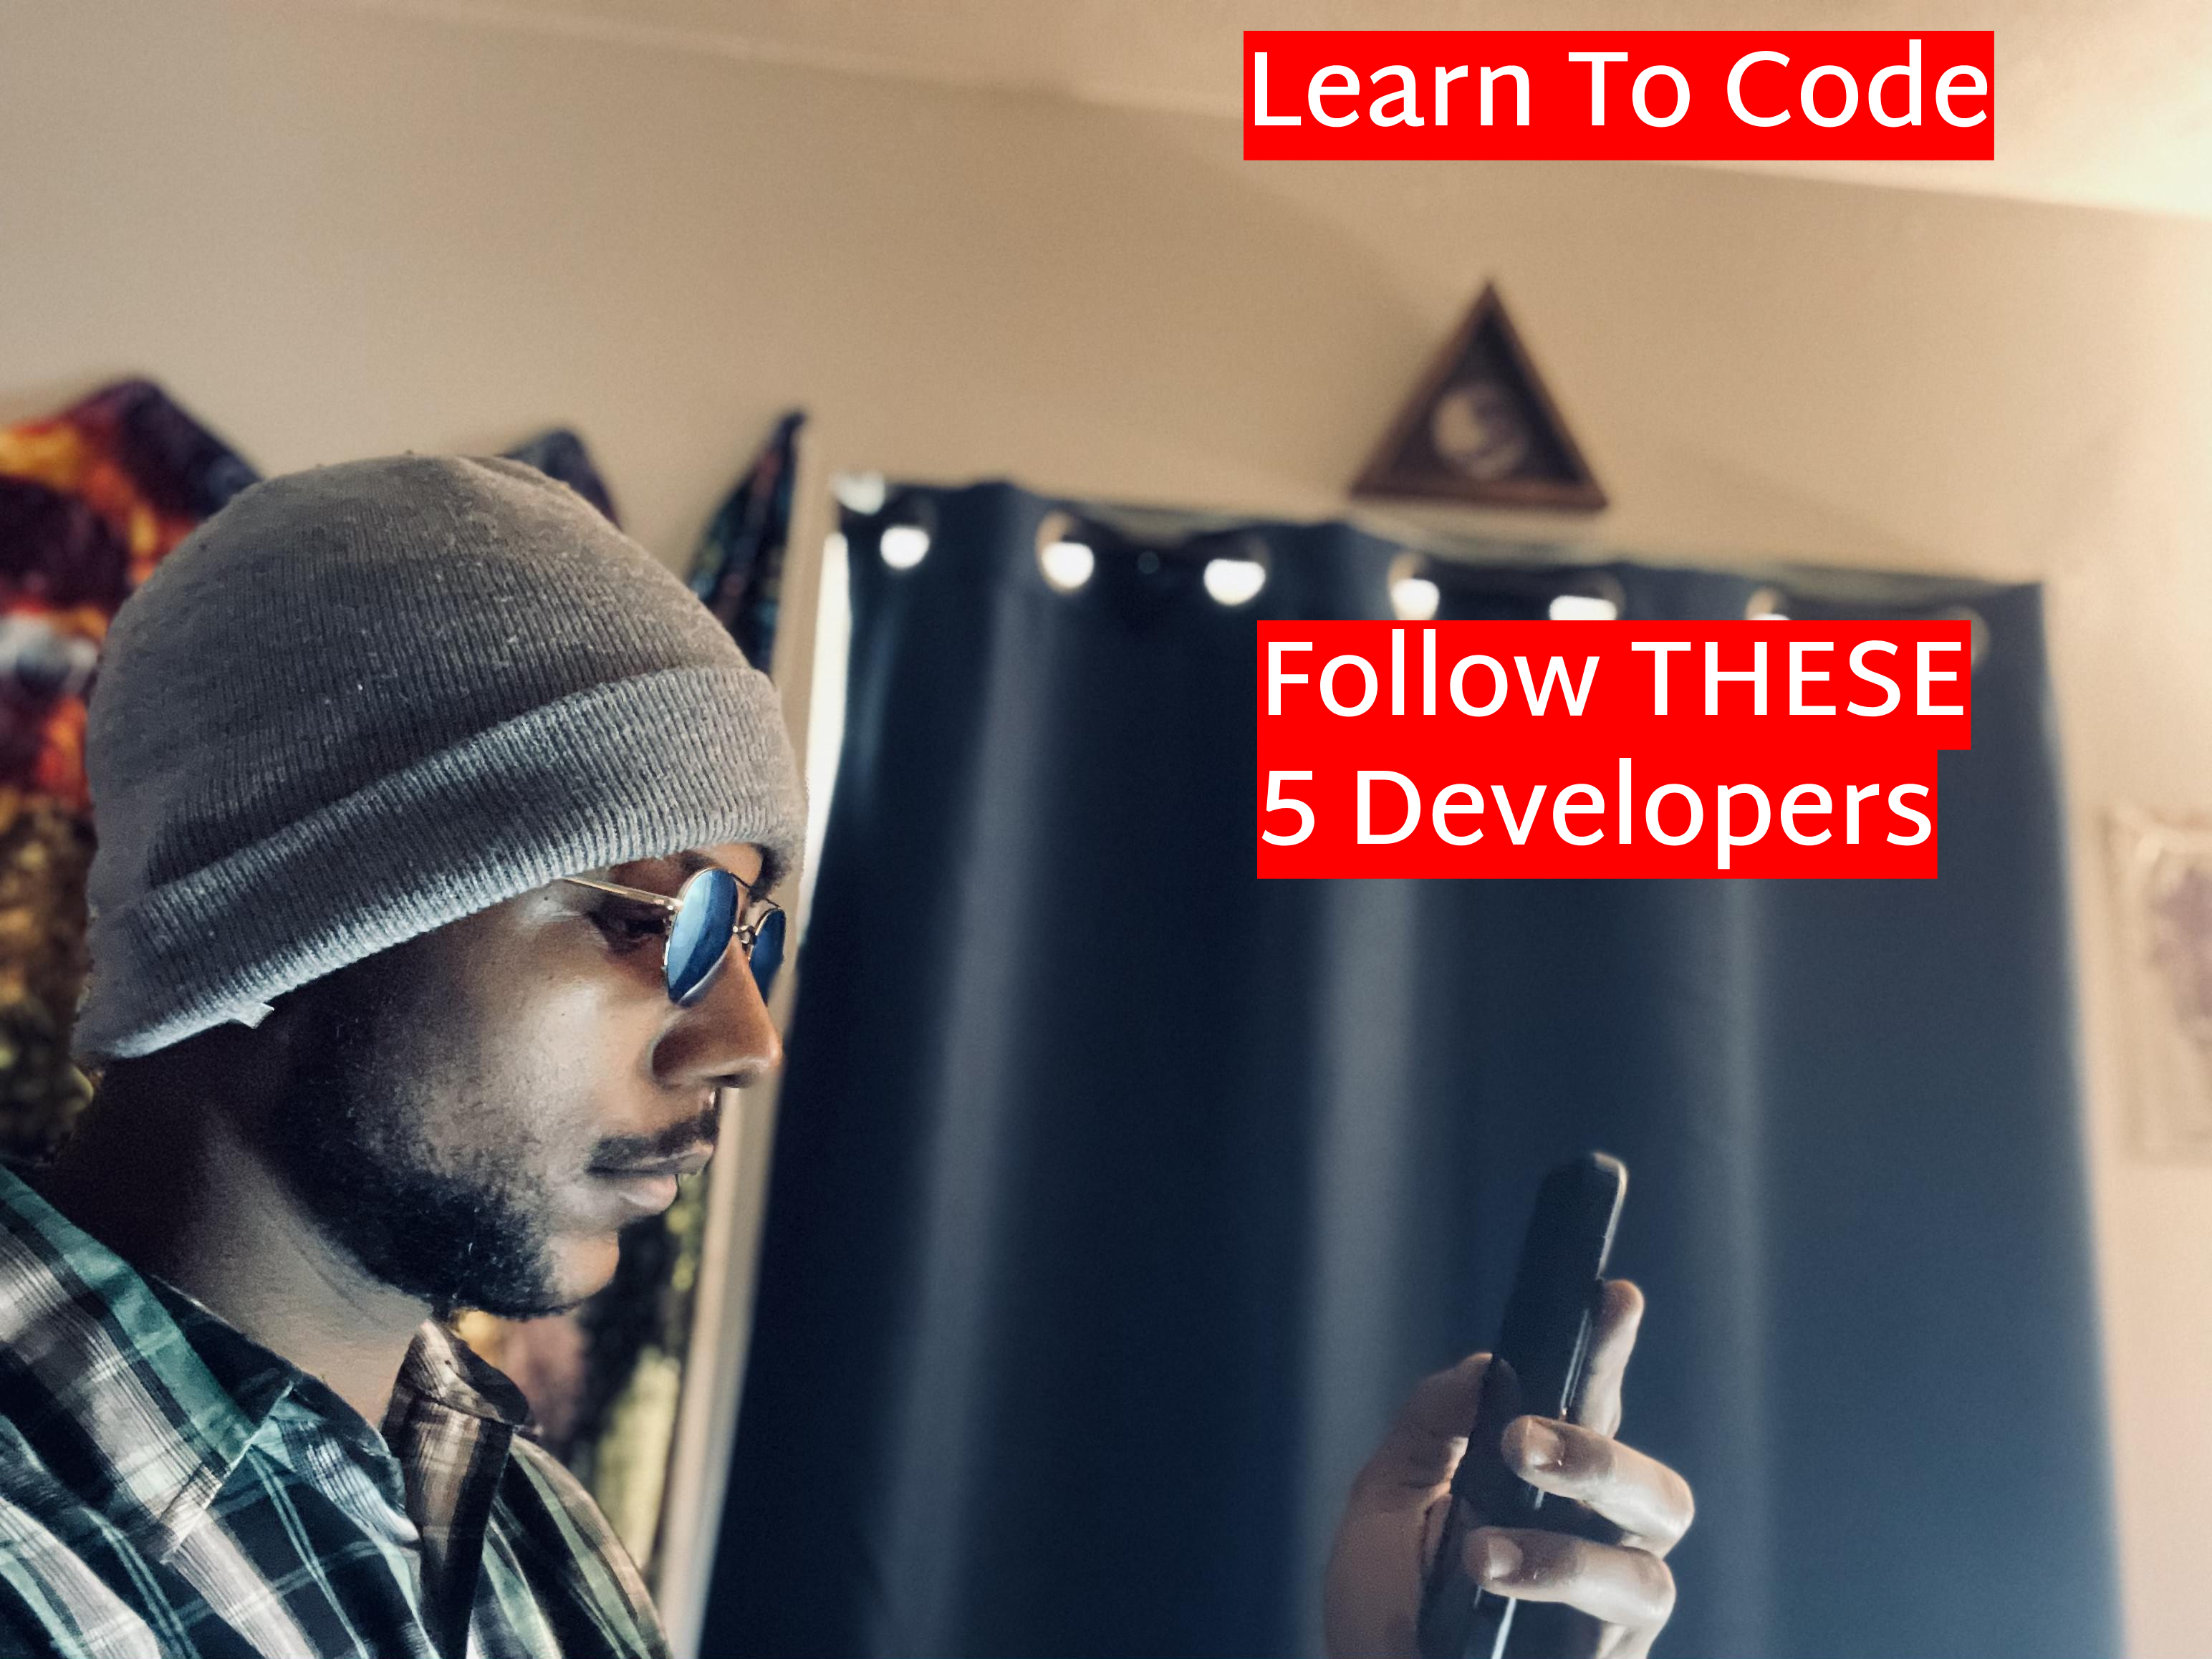
Whether out of want or out of necessity you have decided you are going to learn computer programming and try to get a job in 2022. Welcome to the code gang 🤪! and to help you on your self-funded self-directed journey I will be giving you 5 coders you need to follow! Each and every one of these developers provides quality content and resources that can help you learn faster.
Tae’lur Alexis
Tae’lur is a self-taught developer who specializes in Python, Javascript and Rust. I have personally known Tae’lur for years and she is one of my best friends and one of the smartest people I know. She also has her own website you should check out!
Tae’lur Alexis gives a balanced timeline of personal and tech
Coding Phase
A streamer I have followed on Youtube for years. Coding Phase has a great personality and breaks things down in a digestible way. You can check out his website at codingphase.com
Sarah Drasner is a powerhouse in the developer community. She is a Vue.js and CSS goddess (her animations are beyond amazing). She has worked for companies such as Google, Netlify, Microsoft and Zillow! Her website can be accessed at sarah.dev.
Okay so this last one is a cheat but hey if you are not following me on Twitter you slipping! I have been a senior software engineer at companies such as: Apple, Dell, Sephora and GE! I taught myself how to code and even went into semi retirement off my apps!
As pandemic comes to a close and the world is opening up, companies are looing to recoup loses from last 2 years. This includes cutting in house costs with automation. If you currently work in a career that can be automated, you should really consider upgrading your skillset so you won’t be fired by a piece of software. If you are teaching yourself to code on a budget, these accounts can give you a plethora of resources to aid your journey. Check out some of my products to help you along for a more advanced learning experience.
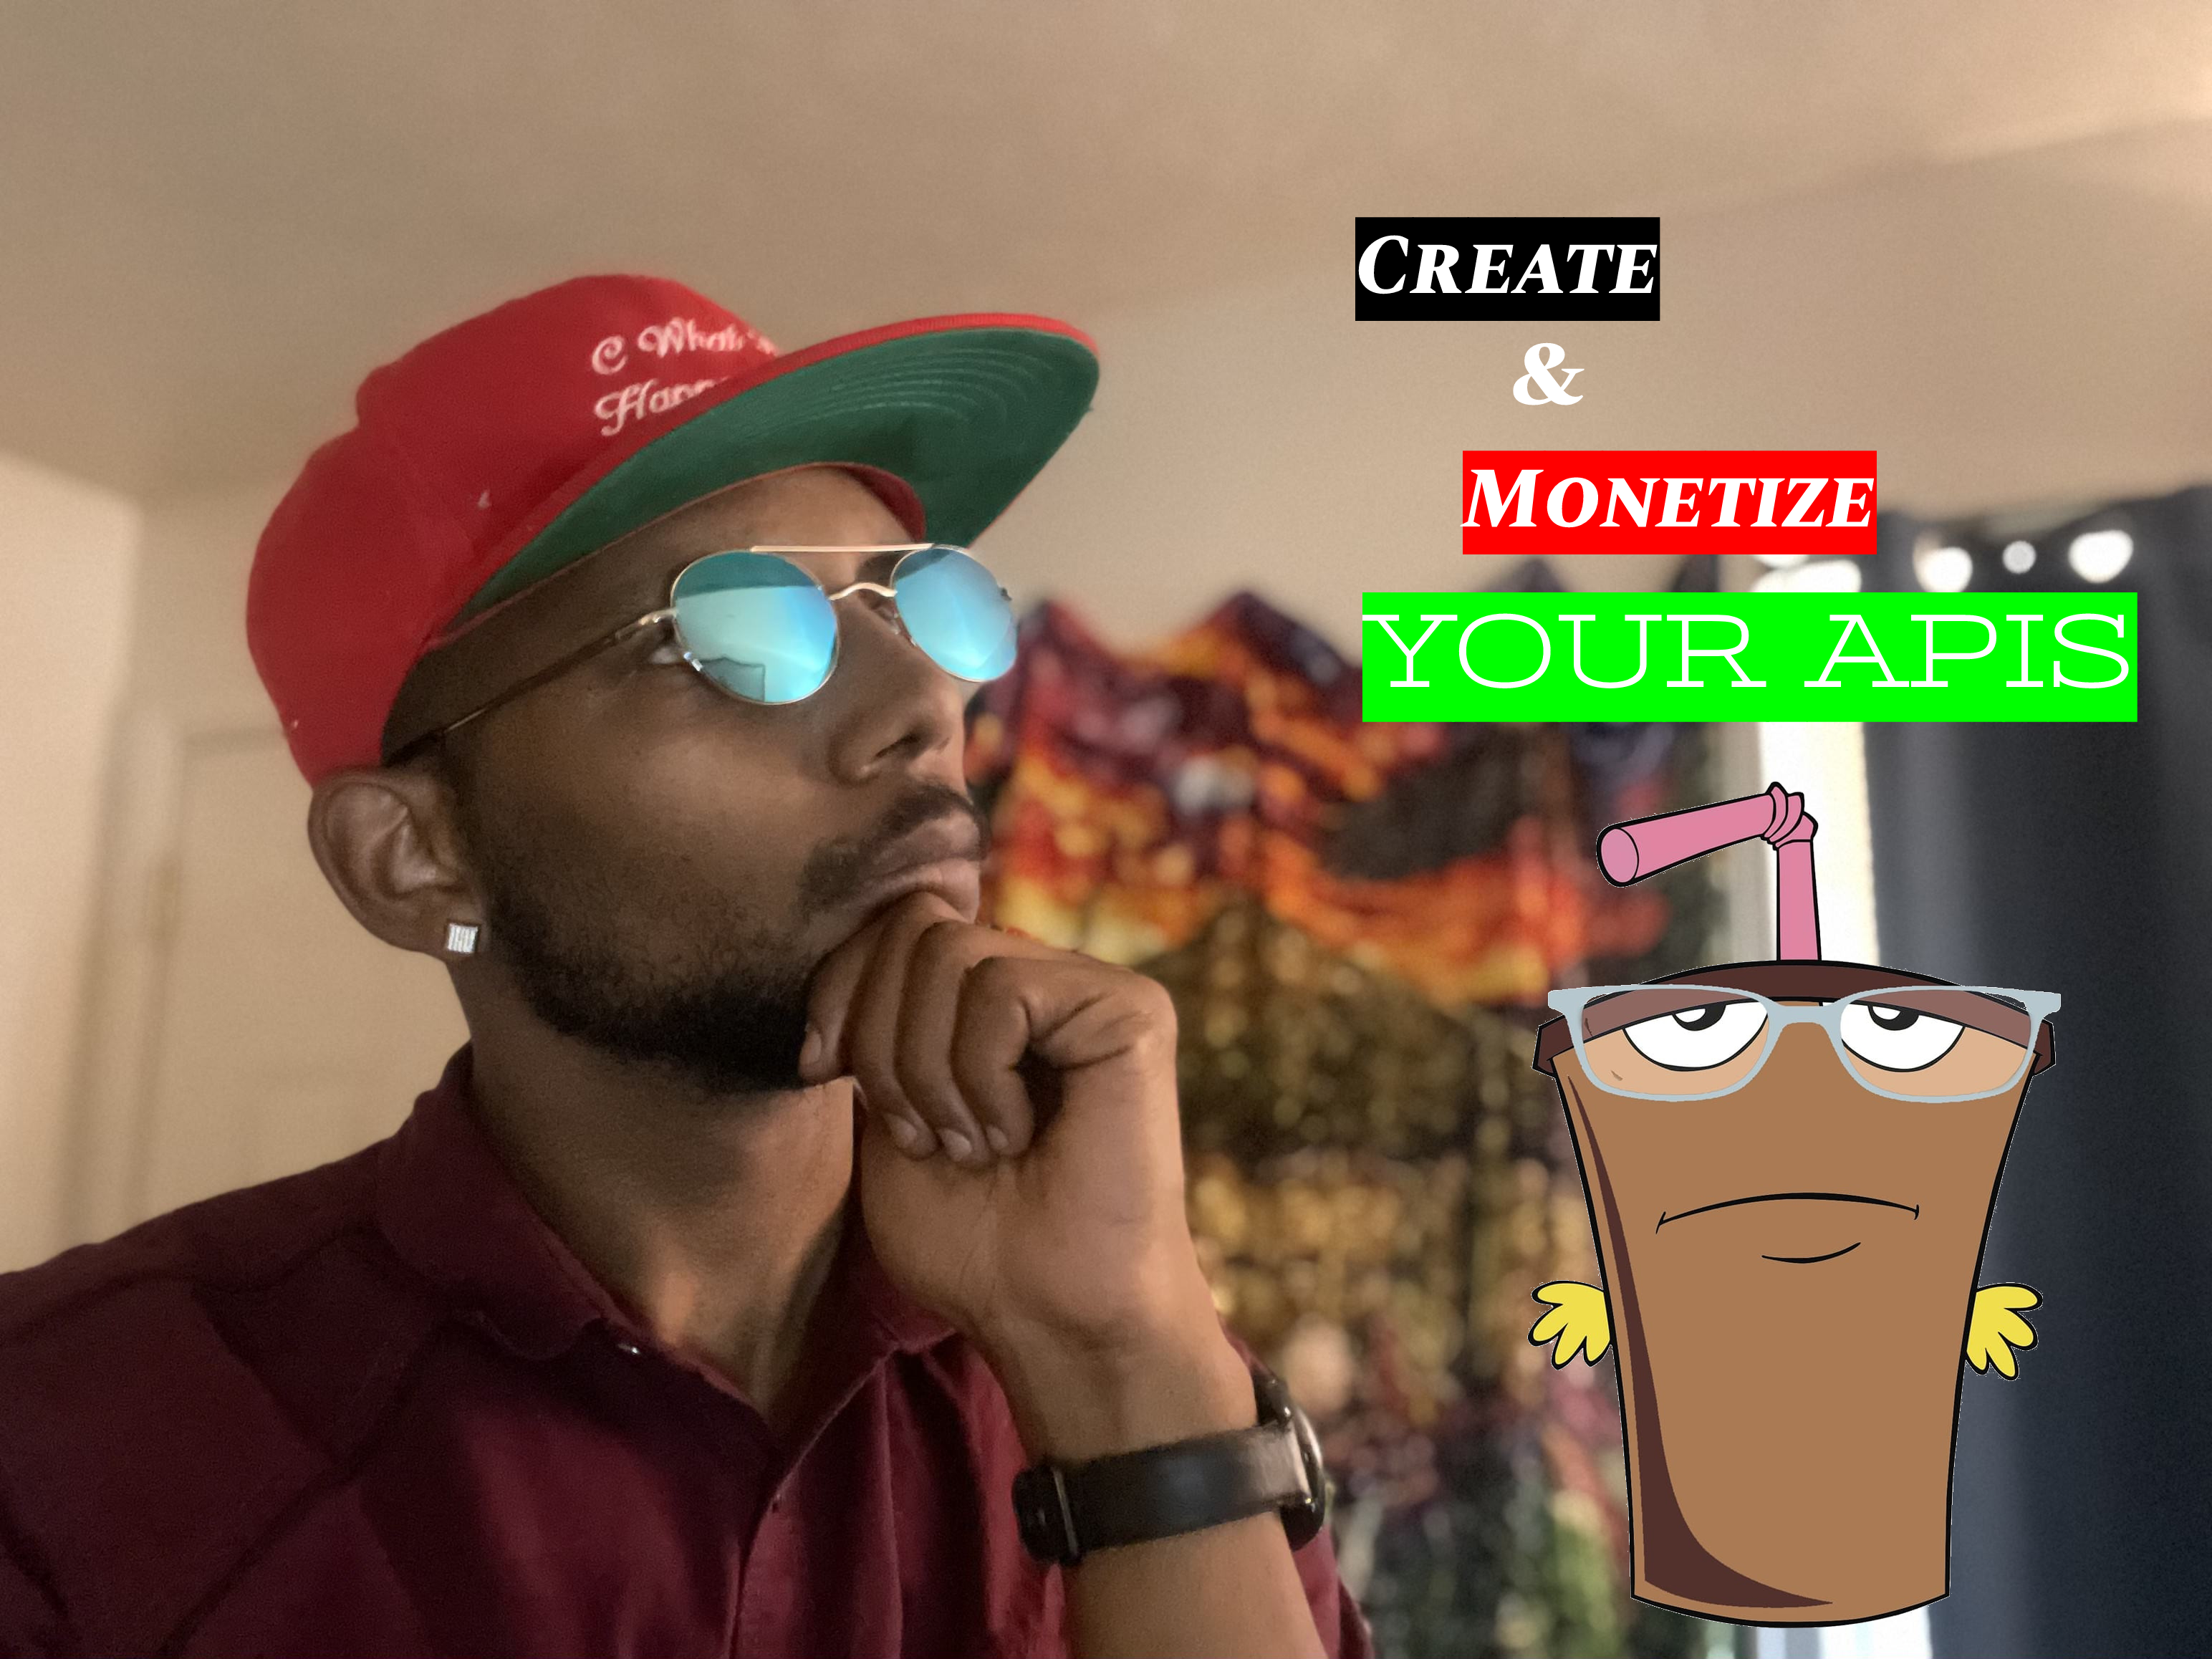
This is a strategy many solo software entrepreneurs fail to utilize when creating their app portfolio. Often when I do my one on one consultations with app freelancers they describe this beautiful, eloquent ecosystem of software. Web app, mobile app, backend everything is there. They always ask how they can increase their revenue. I in turn always ask them “Have you monetized your API?” The look of shock always lets me know they never thought of it. The fact of the matter is, API monetization can be your most long-tailed stream of app income! If your API service is a critical part of another app, and that app lives on for 20 years, you have a lifetime customer, multiple that by 100 and do the math. APIs are a multi-billion-dollar industry and companies will pay as long as the service works and the data is there!
Monetize that API BABY!!!
Why You Should Monetize Your API?
Think about it for a moment. Your API is the powerhouse of your applications. Without it, your product wouldn’t exist in the form it is today. If it solved a business need and there is an opportunity to solve others at a cost, then you should exploit that opportunity. By monetizing your API you can make residual money for your application being the backbone of another application that allows them to make money. While I am a fan of open-source software (I contribute to it daily) I also know that these tech companies make billions off of free software whilst the creators struggle to pay rent! If you have a product that other companies need, make them pay. If you still want to offer it free to hobbyist/solo devs? Rate limit the API and reduce scopes! In fact, a freemium model will ensure you have a consistent audience using your service which helps your overall brand!
Also by making your API accessible you open up your app to use cases you wouldn’t even dream or think of! How you envision your API usage will differ vastly from how your users use your API. These different use cases translates to more residual income for you and your business! This is the power of working smarter and not harder. Just provide the tools that OTHER people need to get their job done and you will have stability in the market. APIs are not as glamourous as the front end, but they can and often do make more money in the long run.
How Do I Sell My API?
When it comes to monetizing and selling access to your API, there are two models: in-app billing, using an API marketplace. In the first model, you would be using something like Stripe to charge either monthly, yearly, or per-use access. Using this model you have more direct control over how much make and charge as well as more flexibility with the use case. The major drawback is that you are responsible for the billing software and tracking usage. The alternative is to use an API marketplace such as RapidAPI. By using an API marketplace you get access to millions of potential customers who are looking for your solution! Honestly, if you are like me and have a much of micro-apis to monetize then putting them for sale on one platform would be less of a headache as well. Ultimately the choice is yours and I advocate you do research to find the best solution for your API and business model. Speaking of APIs, if you are an API developer and you want to have a one-on-one to get the most out of your API business, schedule a time here.
Join The #CodeLife Newsletter
Get weekly updates on the blog and other happenings in the #CodeLife brand!
When Most People Think Passive Income They Think Real Estate Or Stocks
The thing is though, those two avenues of wealth-building are generally reserved for those with high disposable income. What If I told you there is a way to make residual money without spending 100’s of thousands of dollars. This strategy is what allowed me to go into semi-retirement a few years back. Of course what I am talking about is having your very own app investment portfolio!
What Is An App Investment Portfolio?
Simply put, an app investment portfolio is a collection of monetized applications that bring you consistent cash flow. This could be in the form of ads, in-app purchases, affiliate links, or subscriptions! This is done by either creating the apps yourself (much higher return, much more time to implement) or buying an app, fix it up and make that $$$$!
I actually do both, as you know if you follow my brand I have multiple apps that I have created that bring in consistent revenue including but not limited to:
These applications, provide a great cushion for my active income and overall bring my peace of mind up. I own a company called J Computer Solutions LLC, which in turn owns all of the apps I wrote. I do this because all of my contracts are owned by J Comp Solu, in the event that the company loses its contracts I want to be able to still pay myself on payroll with the app revenue. Also, there are more tax advantages but I’m not a tax professional, talk to your CPA. My goal is ultimately to have J Comp Solu’s applications making all of the gross revenue and will no longer take on contracts. If my company makes passive money then my paychecks are GUARANTEED!
Stop Trying To Be A Billionaire & Focus On Paying The Bills
Listen most of the time it’s going to take a while to make anything meaningful revenue-wised from your apps. Where I see a lot of people get discouraged and fail, is that they expect their app to makes $10,000 a month the first month! Stop trying to be Jeff Bezos and do the bill method.
What Is The Bill Method?
The bill method is a method I came up with when creating my app portfolio. Basically, the bill method is described as thus:
List all of your bills and their average monthly cost
Create a monetized app(s) that focus on paying one bill at a time
Once every bill is taken care of, grow app to pay 3x monthly bill
To me, financial freedom isn’t having a million or billion dollars, in fact, I believe most people are slaves to their wealth. My version of financial freedom is me creating something of value and having that pay for my existence. Anything after that is great but as long as I know I have a roof over my head, food in my belly and I can spend all my time with my family and friends I’m straight.
I’m Not A Software Developer, Can I Still Make Money Online With Apps?
If you are reading this and you don’t code you may be thinking “Does this mean I’m SOL?” and the answer to that is NO! There are plenty of websites such as Flippa where you can purchase websites and apps that are cash flow positive! If you have the capital to go that route and you know a developer to partner with *cough cough* the two of you can make something shake!
In this tutorial series, we will be building a WebRTC Google Meet clone using Vue.js. All of the source code is free and available on Github. If you found this tutorial to be helpful and want to help keep this site free for others consider becoming a patron! The application will allow you to join a room by ID. Anyone who joins that room @ that ID will instantly join the call. In this first iteration, we can share voice, video, and screens!
Setting Up The Vue Application
Let’s go ahead and create the Vue application and add our dependency for WebRTC vue-webrtc. This dependency adds all of the functionality we need in a simple web component!
vue create google-meet-clone; cd google-meet-clone; npm install --save vue-webrtc
All of the functionality is built in the App.vue page (for now) let’s open it up and add the following:
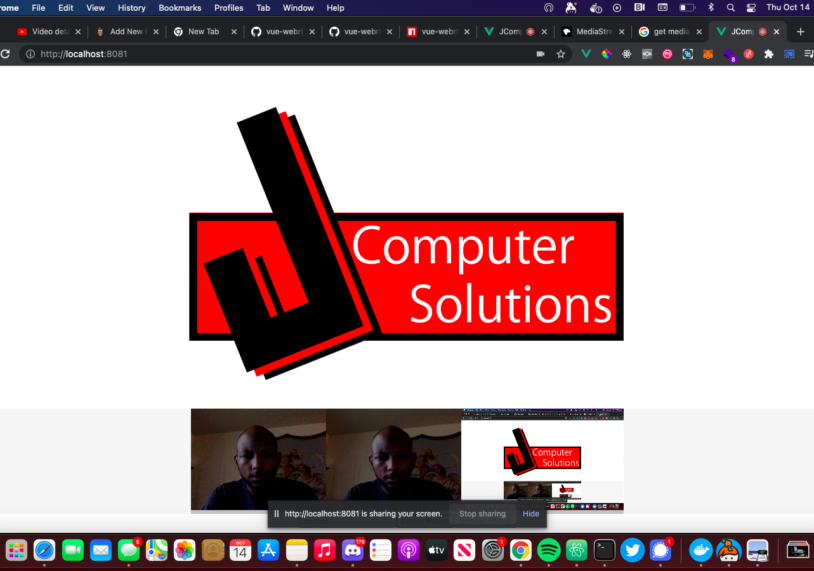
The screen has a text field for putting the roomID which will be used by the vue-webrtc component to connect to a room. We have some events we listen to, which we will do more with in later tutorials. For now there are two buttons, one for connecting /leaving the room and one for sharing your screen. This is it! The package handles everything else and you can test it out here. In the next series we will implement recording functionality so everyone can download the meetings! If you enjoyed this please like and share this blog and subscribe to my YouTube page! In the meantime while you wait check out my screen recorder app tutorial!
So I wanted to add some more functionality to the app that would separate it from the competition (check it out here). At first, I was going to add YouTube functionality where the user could upload the video straight to Youtube. My brother who is a streamer brought up that unless I added editing capabilities to it, there wasn’t much need for that functionality. Instead, I should stream to YouTube. This made much more sense, even in my case I usually stream myself coding from the desktop but instead of downloading cumbersome software, I can do it straight in the browser! For this, I decided to use Laravel Socialite with a YouTube provider, while on the client-side creating a YouTube class with the various functions needed to interact with the API.
Connect To Youtube!
Extending The Laravel Microservice
The Laravel part is pretty simple first we add the Socialite and Youtube Provider packages.
Now we have to edit the app/Providers/EventServiceProvider.php file
<?php

namespace App\Providers;

use Illuminate\Auth\Events\Registered;
use Illuminate\Auth\Listeners\SendEmailVerificationNotification;
use Illuminate\Foundation\Support\Providers\EventServiceProvider as ServiceProvider;
use Illuminate\Support\Facades\Event;

class EventServiceProvider extends ServiceProvider
{
    /**
     * The event listener mappings for the application.
     *
     * @var array
     */
    protected $listen = [
        Registered::class => [
            SendEmailVerificationNotification::class,
        ],
        \SocialiteProviders\Manager\SocialiteWasCalled::class => [
        // ... other providers
        \SocialiteProviders\YouTube\YouTubeExtendSocialite::class.'@handle',
      ],
    ];

    /**
     * Register any events for your application.
     *
     * @return void
     */
    public function boot()
    {
        //
    }
}
Next we need to set the .env file and add the client secret, recorder URL and redirect URL
If you have worked with Laravel Socialite in the past then all of this is familiar. Finally we need to edit our routes/api.php file and add our two API routes for interacting with Youtube.
The callback function redirects us to the web app and the reason for this will become clear next.
The Client Side
On the web app we need to create a Youtube class that will call all of the functions needed for interacting with the API. Not everything is implemented now and will be as the tutorial goes on. Create a new file src/classes/Youtube.js
All of these methods are from the Live and Broadcasts APIs now we will grab the token and init our class! To do this we will create a button that when pressed will open up a new window call the Socialite endpoint, grab the token, close the window, and set the class. First we will create a vuex file and add it to the application open src/store/index.js
We create a universal yt object in the state that represents our Youtube class and we will call the methods. Don’t forget to add the plugin
vue add vuex
Routing
The Youtube API use case requires us to provide a privacy policy so we need to add vue-router and make some new components for the pages.
vue add router
Now create a new file src/router/index.js
import Vue from 'vue'
import VueRouter from 'vue-router'
import Home from '../views/Home.vue'

Vue.use(VueRouter)

const routes = [
  {
    path: '/',
    name: 'Home',
    component: Home
  },
  {
    path: '/about',
    name: 'About',
    // route level code-splitting
    // this generates a separate chunk (about.[hash].js) for this route
    // which is lazy-loaded when the route is visited.
    component: () => import(/* webpackChunkName: "about" */ '../views/About.vue')
  },
  {
    path: '/privacy',
    name: 'Privacy',
    // route level code-splitting
    // this generates a separate chunk (about.[hash].js) for this route
    // which is lazy-loaded when the route is visited.
    component: () => import(/* webpackChunkName: "about" */ '../views/Privacy.vue')
  },
  {
    path: '/terms',
    name: 'TOS',
    // route level code-splitting
    // this generates a separate chunk (about.[hash].js) for this route
    // which is lazy-loaded when the route is visited.
    component: () => import(/* webpackChunkName: "about" */ '../views/Terms.vue')
  },
  {
    path: '/success',
    name: 'Success',
    // route level code-splitting
    // this generates a separate chunk (about.[hash].js) for this route
    // which is lazy-loaded when the route is visited.
    component: () => import(/* webpackChunkName: "about" */ '../views/Success.vue')
  }
]

const router = new VueRouter({
  routes
})

export default router
The About, Terms and Privacy pages are simply templates with text in them showing the various content needed and for sake of brevity I won’t show those contents as there is no javascript. The Success page however is very important and is responsible for grabbing the Youtube token from the Laravel callback. Let’s explore it src/views/Success.vue
<template>
  <div class="Success">
    <img alt="Screen Record Pro" src="../assets/logo.svg" class="animate-fade-slow object-contain h-80 w-full">
    <h2 class="text-sm tracking-wide font-medium text-gray-500 uppercase">Youtube Connected!</h2>
    <p class="text-base font-light leading-relaxed mt-0 mb-4 text-gray-800">
    Thank you for authenticating with Screen Record Pro! This window will close automatically
    </p>
  </div>
</template>
<script>
import { mapActions, mapGetters } from 'vuex'
export default {
  name: 'Success',
  mounted () {
    window.localStorage.setItem('youtube_key', this.$route.query.token)
    window.opener.postMessage({youtube_token: this.$route.query.token}, '*')
    window.close()
  },
  computed: {
    ...mapGetters(['getYoutube'])
  },
  methods : {
    ...mapActions(['setYouTube'])
  }
}
</script>
Once the page mountes we use localstorage API to set the youtube_key to the token query parameter. This parameter is set when the redirect is called in the /callback/youtube API endpoint. This window will be a popup window, and we need to send a message to the window that opened this window (make sense?). For this we use the window.opener.postMessage() function. We will listen for this message on the home screen and set the youtube object. Now that we have made our router and vuex object we need to redo the main.js and set our Vue object with them. open up main.js
Lastly we need to open the src/views/Home.vue file and edit our application. When it mounts we need to set a listener for message and call the setYoutube method. If the localstorage is already set then we don’t show the button for connecting. If the user is connected then they click a button and it creates a live stream.
<template>
  <div id="app">
    <img alt="Screen Record Pro" src="../assets/logo.svg" class="animate-fade-slow object-contain h-80 w-full">
    <h2 class="text-sm tracking-wide font-medium text-gray-500 uppercase">Free Online Screen Recorder</h2>
    <p class="text-base font-light leading-relaxed mt-0 mb-4 text-gray-800">
    Free online screen recorder by J Computer Solutions LLC that allows you to
    record your screen including microphone audio and save the file to your desktop.
    No download required, use this progressive web app in the browser!
    J Computer Solutions LLC provides the #1 free online screen capture software! Due to current
    browser limitations, this software can only be used on desktop. Please ensure you are on a Windows, MacOS or Linux
    computer using Chrome, Firefox or Safari!
    </p>
    <h1 class="text-3xl font-large text-gray-500 uppercase">To Date We Have Processed: <strong class="animate-pulse text-3xl font-large text-red-500">{{bytes_processed}}</strong> bytes worth of video data!</h1>
    <t-modal
      header="Email Recording"
      ref="modal"
    >
  <t-input v-model="sendEmail" placeholder="Email Address" name="send-email" />
  <template v-slot:footer>
    <div class="flex justify-between">
      <t-button type="button" @click="$refs.modal.hide()">
        Cancel
      </t-button>
      <t-button type="button" @click="emailFile">
        Send File
      </t-button>
    </div>
  </template>
</t-modal>
<div class="mt-5 mb-5">
  <t-button v-on:click="connectToYoutube" v-if="!youtube_ready"> Connect To YouTube 📺</t-button>
</div>
<div class="mt-5 mb-5">
  <t-button v-on:click="getStream" v-if="!isRecording" v-show="canRecord" class="ml-10"> Start Recording 🎥</t-button>
    <div v-else>
      <t-button v-on:click="streamToYouTube" @click="createBroadcast" v-if="youtube_ready">Stream To Youtube 📺</t-button>

      <t-button v-on:click="stopStream"> Stop Screen Recording ❌ </t-button>
      </div>
    <t-button v-on:click="download" v-if="fileReady" class="ml-10"> Download Recording 🎬</t-button>
    <t-button  v-on:click="$refs.modal.show()" autoPictureInPicture="true" v-if="fileReady" class="ml-10"> Email Recording 📧</t-button>
</div>
<div class="mt-5" v-show="fileReady">
  <video class="center" height="500px"  controls  id="video" ></video>
</div>
<Adsense
  data-ad-client="ca-pub-7023023584987784"
  data-ad-slot="8876566362">
</Adsense>
<footer>
  <cookie-law theme="base"></cookie-law>
</footer>
  </div>
</template>

<script>
 import CookieLaw from 'vue-cookie-law'
 import { mapGetters, mapActions } from 'vuex'
export default {
  name: 'Home',
  components: { CookieLaw },
  data() {
    return {
      youtube_ready: false,
      canRecord: true,
      isRecording: false,
      options: {
        audioBitsPerSecond: 128000,
        videoBitsPerSecond: 2500000,
        mimeType: 'video/webm; codecs=vp9'
      },
      displayOptions: {
      video: {
        cursor: "always"
      },
      audio: {
          echoCancellation: true,
          noiseSuppression: true,
          sampleRate: 44100
        }
      },
      mediaRecorder: {},
      stream: {},
      recordedChunks: [],
      file: null,
      fileReady: false,
      sendEmail: '',
      url: 'https://screen-recorder-micro.jcompsolu.com',
      bytes_processed: 0,
    }
  },
  methods: {
    ...mapActions(['setYouTube', 'streamToYouTube', 'getBroadcasts', 'createBroadcast']),
    async connectToYoutube () {
      window.open(`${this.url}/api/login/youtube`, "YouTube Login", 'width=800, height=600');
    },
    async emailFile () {
      try {
        const fd = new FormData();
        fd.append('video', this.file)
        fd.append('email', this.sendEmail)
        await fetch(`${this.url}/api/email-file`, {
          method: 'post',
          body: fd
        })
        this.$gtag.event('email-file-data', {
          'name': this.file.name,
          'size': this.file.size,
          'email': this.sendEmail
        })
      this.$refs.modal.hide()
      this.showNotification()
      } catch (err) {
        alert(err.message)
      }
    },
    async uploadFileData () {
      try {
        const fd = new FormData();
        fd.append('video', this.file)
        await fetch(`${this.url}/api/upload-file-data`, {
          method: 'post',
          body: fd
        })
        this.$gtag.event('upload-file-data', {
          'name': this.file.name,
          'size': this.file.size
        })
      } catch (e) {
        this.$gtag.exception('application-error', e)
      }
    },
    setFile (){
      this.file = new Blob(this.recordedChunks, {
        type: "video/webm; codecs=vp9"
      });
      this.$gtag.event('file-set', {
        'event_category' : 'Files',
        'event_label' : 'File Set'
      })
      const newObjectUrl = URL.createObjectURL( this.file );
      const videoEl = document.getElementById('video')
      // URLs created by `URL.createObjectURL` always use the `blob:` URI scheme: https://w3c.github.io/FileAPI/#dfn-createObjectURL
      const oldObjectUrl = videoEl.src;
      if( oldObjectUrl && oldObjectUrl.startsWith('blob:') ) {
          // It is very important to revoke the previous ObjectURL to prevent memory leaks. Un-set the `src` first.
          // See https://developer.mozilla.org/en-US/docs/Web/API/URL/createObjectURL

          videoEl.src = ''; // <-- Un-set the src property *before* revoking the object URL.
          URL.revokeObjectURL( oldObjectUrl );
      }

      // Then set the new URL:
      videoEl.src = newObjectUrl;

      // And load it:
      videoEl.load();
      this.$gtag.event('file-loaded', {
        'event_category' : 'Files',
        'event_label' : 'File Loaded'
      })
      videoEl.onloadedmetadata = () => {
        this.uploadFileData()
        this.getBytes()
      }
      videoEl.onPlay = () => {
        this.$gtag.event('file-played', {
          'event_category' : 'Files',
          'event_label' : 'File Played'
        })
      }

      this.fileReady = true
    },
    download: function(){
    var url = URL.createObjectURL(this.file);
    var a = document.createElement("a");
    document.body.appendChild(a);
    a.style = "display: none";
    a.href = url;
    var d = new Date();
    var n = d.toUTCString();
    a.download = n+".webm";
    a.click();
    window.URL.revokeObjectURL(url);
    this.recordedChunks = []
    this.showNotification()
    this.$gtag.event('file-downloaded', {
      'event_category' : 'Files',
      'event_label' : 'File Downloaded'
    })
    },
    showNotification: function() {
      this.$gtag.event('notification-shown', {})
      var img = '/logo.png';
      var text = 'If you enjoyed this product consider donating!';
      navigator.serviceWorker.getRegistration().then(function(reg) {
        reg.showNotification('Screen Record Pro', { body: text, icon: img, requireInteraction: true,
        actions: [
            {action: 'donate', title: 'Donate',icon: 'logo.png'},
            {action: 'close', title: 'Close',icon: 'logo.png'}
            ]
              });
      });
    },
    handleDataAvailable: function(event) {
      if (event.data.size > 0) {
        this.recordedChunks.push(event.data);
        this.isRecording = false
        this.setFile()
      } else {
        // ...
      }
    },
    async registerPeriodicNewsCheck () {
      const registration = await navigator.serviceWorker.ready;
      try {
        await registration.periodicSync.register('get-latest-stats', {
          minInterval: 24 * 60 * 60 * 1000,
        });
      } catch (e) {
        this.$gtag.exception('application-error', e)
      }
    },
    stopStream: function() {
      this.mediaRecorder.stop()
      this.mediaRecorder = null
      this.stream.getTracks()
      .forEach(track => track.stop())
      this.stream = null
      this.$gtag.event('stream-stop', {
        'event_category' : 'Streams',
        'event_label' : 'Stream Stopped'
      })
    },
    getStream: async function() {
    try {
        this.stream =  await navigator.mediaDevices.getDisplayMedia(this.displayOptions);
        this.stream.getVideoTracks()[0].onended = () => { // Click on browser UI stop sharing button
          this.stream.getTracks()
          .forEach(track => track.stop())
        };
        const audioStream = await navigator.mediaDevices.getUserMedia({audio: true}).catch(e => {throw e});
        const audioTrack = audioStream.getAudioTracks();
        // add audio track
        this.stream.addTrack(audioTrack[0])
        this.mediaRecorder = new MediaRecorder(this.stream)
        this.mediaRecorder.ondataavailable = this.handleDataAvailable;
        this.mediaRecorder.start();
        this.isRecording = true
        this.$gtag.event('stream-start', {
          'event_category' : 'Streams',
          'event_label' : 'Stream Started'
        })
      } catch(e) {
        this.isRecording = false
        this.$gtag.exception('application-error', e)
      }
    },
    async getBytes () {
      const result = await fetch(`${this.url}/api/get-stats`)
      this.bytes_processed = await result.json()
    },
    skipDownloadUseCache () {
      this.bytes_processed = localStorage.bytes_processed
    }

  },
  mounted() {
    const ctx = this
    window.addEventListener("message", function (e) {
      if (typeof e.data.youtube_token !== 'undefined') {
        console.log(e.data.youtube_token)
        ctx.setYouTube(e.data.youtube_token)
        ctx.youtube_ready = true
      }
    })
    this.$gtag.pageview("/");
    const ua = navigator.userAgent;
    if (/(tablet|ipad|playbook|silk)|(android(?!.*mobi))/i.test(ua) || /Mobile|Android|iP(hone|od)|IEMobile|BlackBerry|Kindle|Silk-Accelerated|(hpw|web)OS|Opera M(obi|ini)/.test(ua)) {
        alert('You must be on desktop to use this application!')
        this.canRecord = false
        this.$gtag.exception('mobile-device-attempt', {})
    }
    let that = this
    if (Notification.permission !== 'denied' || Notification.permission === "default") {
      try {
        Notification.requestPermission().then(function(result) {
          that.$gtag.event('accepted-notifications', {
            'event_category' : 'Notifications',
            'event_label' : 'Notification accepted'
          })
          console.log(result)
        });
      } catch (error) {
          // Safari doesn't return a promise for requestPermissions and it
          // throws a TypeError. It takes a callback as the first argument
          // instead.
          if (error instanceof TypeError) {
              Notification.requestPermission((result) => {
                that.$gtag.event('accepted-notifications', {
                  'event_category' : 'Notifications',
                  'event_label' : 'Notification accepted'
                })
                console.log(result)
              });
          } else {
            this.$gtag.exception('notification-error', error)
            throw error;
          }
      }

    }
  },
  computed: {
    ...mapGetters(['getYoutube'])
  },
  async created () {
    try {
      if(localStorage.youtube_key != null) {
        this.setYouTube(localStorage.youtube_key)
        console.log(this.getBroadcasts())
        this.youtube_ready = true
      }
      const registration = await navigator.serviceWorker.ready
      const tags = await registration.periodicSync.getTags()
      navigator.serviceWorker.addEventListener('message', event => {
        this.bytes_processed = event.data
      });
      if (tags.includes('get-latest-stats')) {
          // this.skipDownloadUseCache()
      } else {
        this.getBytes()
      }
    } catch (e) {
      this.$gtag.exception('application-error', e)
      this.getBytes()
    }
  }
}
</script>

<style>
#app {
  font-family: Avenir, Helvetica, Arial, sans-serif;
  -webkit-font-smoothing: antialiased;
  -moz-osx-font-smoothing: grayscale;
  text-align: center;
  color: #2c3e50;
  margin-top: 60px;
}
:picture-in-picture {
  box-shadow: 0 0 0 5px red;
  height: 500px;
  width: 500px;
}
</style>
OAuth ScreenNow we can create a live stream!
We created the stream but now we need to send our packets via MPEG-DASH! In the next series, we create the dash service and send our packets to Youtube for ingestion! Be sure to like and share this article and subscribe to my Youtube channel! Also, be sure to check out the source code for the API and the PWA! Lastly, join the discord and connect with software engineers and entrepreneurs alike!
Recording Your Screen With Vue.js and MediaRecorder API
Last year I wrote a screen recording progressive web app with Vue.js and the MediaRecorder API. This was a simple app that allowed you to record your current screen and after screen sharing, a file would be created with the File API and downloaded to your system. Well I decided to update it this week and add email functionality. The reason? I needed to send a screen recording to a client and figured might as well add the functionality in the app and save time; as opposed to downloading the file then opening Gmail, then sending the email. Here is a video for the first part.
Screen recorder part 1
Adding The Email Service
Obviously, you all know I love Laravel! I decided to create a Laravel 8 API microservice with a single post route that takes the video file and email address and sends a notification to said email address. I then had to edit the Vue application to make a network call to the microservice when the user wants to email the file.
Screen recorder part 2
Getting To The Code!
Let’s start off with the Vue.js application. Create a new application in your terminal
vue create screen-recorder
The first thing we are going to do is add our dependencies, which in this case is vue-tailwind for ease of working with TailwindCSS, gtag for working with Google Analytics ( I like to know where my users are coming from), Google Adsense ( a brother gotta eat) and vue-script2.
cd screen-recorder; npm install --save vue-tailwind vue-script2 vue-gtag vue-google-adsense
After installing the dependencies, head over to main.js and let’s setup the application
This file basically bootstraps the application with all the Google stuff and the Tailwind CSS packaging. Now let’s open up the App.vue and replace with the following:
<template>
  <div id="app">
    <img alt="J Computer Solutions Logo" src="./assets/logo.png" class="object-contain h-48 w-full">
    <p>
    Record your screen and save the file as a video.
    Perfect for screen recording for clients. Completely client side app and is installable as a PWA!
    </p>
    <p>
    Currently full system audio is only available in Windows and Chrome OS.
    In Linux and MacOS only chrome tabs are shared.
    </p>
    <t-modal
      header="Email Recording"
      ref="modal"
    >
  <t-input v-model="sendEmail" placeholder="Email Address" name="send-email" />
  <template v-slot:footer>
    <div class="flex justify-between">
      <t-button type="button" @click="$refs.modal.hide()">
        Cancel
      </t-button>
      <t-button type="button" @click="emailFile">
        Send File
      </t-button>
    </div>
  </template>
</t-modal>
<div class="mt-5">
    <t-button v-on:click="getStream" v-if="!isRecording"> Start Recording 🎥</t-button>
    <t-button v-on:click="stopStream" v-else> Stop Screen Recording ❌ </t-button>
    <t-button v-on:click="download" v-if="fileReady" class="ml-10"> Download Recording 🎬</t-button>
    <t-button  v-on:click="$refs.modal.show()" v-if="fileReady" class="ml-10"> Email Recording 📧</t-button>
</div>
    <br>
    <Adsense
      data-ad-client="ca-pub-xxxxxxxxxx"
      data-ad-slot="xxxxxxx">
    </Adsense>
  </div>
</template>

<script>

export default {
  name: 'App',
  data() {
    return {
      isRecording: false,
      options: {
        audioBitsPerSecond: 128000,
        videoBitsPerSecond: 2500000,
        mimeType: 'video/webm'
      },
      displayOptions: {
      video: {
        cursor: "always"
      },
      audio: {
          echoCancellation: true,
          noiseSuppression: true,
          sampleRate: 44100
        }
      },
      mediaRecorder: {},
      stream: {},
      recordedChunks: [],
      file: null,
      fileReady: false,
      sendEmail: '',
      url: 'https://screen-recorder-micro.jcompsolu.com'
    }
  },
  methods: {
    async emailFile () {
      try {
        const fd = new FormData();
        fd.append('video', this.file)
        fd.append('email', this.sendEmail)
        await fetch(`${this.url}/api/email-file`, {
          method: 'post',
          body: fd
        })
      this.$refs.modal.hide()
      this.showNotification()
      } catch (err) {
        alert(err.message)
      }
    },
    setFile (){
      this.file = new Blob(this.recordedChunks, {
        type: "video/webm"
      });
      this.fileReady = true
    },
    download: function(){
      this.$gtag.event('download-stream', {})


    var url = URL.createObjectURL(this.file);
    var a = document.createElement("a");
    document.body.appendChild(a);
    a.style = "display: none";
    a.href = url;
    var d = new Date();
    var n = d.toUTCString();
    a.download = n+".webm";
    a.click();
    window.URL.revokeObjectURL(url);
    this.recordedChunks = []
    this.showNotification()
    },
    showNotification: function() {
      var img = '/logo.png';
      var text = 'If you enjoyed this product consider donating!';
      navigator.serviceWorker.getRegistration().then(function(reg) {
        reg.showNotification('Screen Recorder', { body: text, icon: img, requireInteraction: true,
        actions: [
            {action: 'donate', title: 'Donate',icon: 'logo.png'},
            {action: 'close', title: 'Close',icon: 'logo.png'}
            ]
              });
      });
    },
    handleDataAvailable: function(event) {
      if (event.data.size > 0) {
        this.recordedChunks.push(event.data);
        this.isRecording = false
        this.setFile()
      } else {
        // ...
      }
    },
    stopStream: function() {
      this.$gtag.event('stream-stop', {})
      this.mediaRecorder.stop()
      this.mediaRecorder = null
      this.stream.getTracks()
      .forEach(track => track.stop())

    },
    getStream: async function() {
    try {
        this.stream =  await navigator.mediaDevices.getDisplayMedia(this.displayOptions);
        this.mediaRecorder = new MediaRecorder(this.stream, this.options);
        this.mediaRecorder.ondataavailable = this.handleDataAvailable;
        this.mediaRecorder.start();
        this.isRecording = true
        this.$gtag.event('stream-start', {})
      } catch(err) {
        this.isRecording = false
        this.$gtag.event('stream-stop', {})
        alert(err);
      }
    }
  },
  mounted() {

    let that = this
    Notification.requestPermission().then(function(result) {
      that.$gtag.event('accepted-notifications', { result: result })
    });
  }
}
</script>

<style>
#app {
  font-family: Avenir, Helvetica, Arial, sans-serif;
  -webkit-font-smoothing: antialiased;
  -moz-osx-font-smoothing: grayscale;
  text-align: center;
  color: #2c3e50;
  margin-top: 60px;
}
</style>
Laravel API
Start off by creating a new Laravel application. My setup uses Docker and MacOS
The first thing we want to do is create our File model and migration. The File model will hold the name, mime_type and size of the file along with the email where the file is to be sent. Note! We are NOT storing the file, simply passing it through to the email.
cd screen-recorder-api; ./vendor/bin/sail up -d; ./vendor/bin/sail artisan make:model -m File
Open up the app/Models/File.php file and replace the contents with the following:
<?php

namespace App\Models;

use Illuminate\Database\Eloquent\Factories\HasFactory;
use Illuminate\Database\Eloquent\Model;
use Illuminate\Notifications\Notifiable;
class File extends Model
{
    use HasFactory, Notifiable;
    public $guarded = [];
}
Now open up the migration file and edit it to be the following:
<?php

use Illuminate\Database\Migrations\Migration;
use Illuminate\Database\Schema\Blueprint;
use Illuminate\Support\Facades\Schema;

class CreateFilesTable extends Migration
{
    /**
     * Run the migrations.
     *
     * @return void
     */
    public function up()
    {
        Schema::create('files', function (Blueprint $table) {
            $table->id();
            $table->string('name');
            $table->string('email');
            $table->string('size');
            $table->string('mime_type');
            $table->timestamps();
        });
    }

    /**
     * Reverse the migrations.
     *
     * @return void
     */
    public function down()
    {
        Schema::dropIfExists('files');
    }
}
Now let’s create a new notification called SendFile. This notification will send an email with the file attached to it to the user. Let’s create the notification and fill out the contents!
./vendor/bin/sail artisan make:migration SendFile
<?php

namespace App\Notifications;

use Illuminate\Bus\Queueable;
use Illuminate\Contracts\Queue\ShouldQueue;
use Illuminate\Notifications\Messages\MailMessage;
use Illuminate\Notifications\Notification;

class SendFile extends Notification
{
    use Queueable;
    public $file;
    /**
     * Create a new notification instance.
     *
     * @return void
     */
    public function __construct($file)
    {
        //
        $this->file = $file;
    }

    /**
     * Get the notification's delivery channels.
     *
     * @param  mixed  $notifiable
     * @return array
     */
    public function via($notifiable)
    {
        return ['mail'];
    }

    /**
     * Get the mail representation of the notification.
     *
     * @param  mixed  $notifiable
     * @return \Illuminate\Notifications\Messages\MailMessage
     */
    public function toMail($notifiable)
    {
        return (new MailMessage)
                    ->line('Your Screen Recording')
                    ->line('Thank you for using our application!')
                    ->attach($this->file, ['as' => 'jcompsolu-screen-record.webm', 'mime' => 'video/webm']);
    }

    /**
     * Get the array representation of the notification.
     *
     * @param  mixed  $notifiable
     * @return array
     */
    public function toArray($notifiable)
    {
        return [
            //
        ];
    }
}
You will notice we set the file in the constructor then attach it using the attach() method on the MailMessage object. Now that is done let’s create the API route, and send our notifications! Open up routes/api.php and edit it to be so:
<?php

use Illuminate\Http\Request;
use Illuminate\Support\Facades\Route;
use App\Models\File;
use App\Notifications\SendFile;
/*
|--------------------------------------------------------------------------
| API Routes
|--------------------------------------------------------------------------
|
| Here is where you can register API routes for your application. These
| routes are loaded by the RouteServiceProvider within a group which
| is assigned the "api" middleware group. Enjoy building your API!
|
*/

Route::middleware('auth:sanctum')->get('/user', function (Request $request) {
    return $request->user();
});

Route::post('/email-file', function (Request $request) {
  $uploadedFile = $request->video;
  $file = File::Create([
    'name' => $uploadedFile->getClientOriginalName(),
    'mime_type' => $uploadedFile->getClientMimeType(),
    'size' => $uploadedFile->getSize(),
    'email' => $request->email
  ]);
  $file->notify(new SendFile($uploadedFile));
  return response()->json($file);
});
When you upload a file in Laravel it is an instance of UploadedFile class and has several file related methods associated with it! Using these methods we can get the name, size and mimetype of the uploaded file! After setting the model and saving in the database we send a notification with the uploaded file! Test it yourself here!
Conclusion
The vast majority of the apps I create and monetize, start off as an app that I use myself to make my life or work easier! This is the basis of #CodeLife and is the reason I was able to retire early for a few years. If this tutorial helped you please consider subscribing to my Youtube channel and subscribing to the blog and leave a comment if you want me to add new functionality!


 Unlock with Patreon